Disguises
Disguises are relatively simple to add.
MissionSetup fields
CustomStrings = {
    ["name.disguise.custom"] = "Custom unfiform",
},
CustomDisguises = {
    CustomDisguise = {
        Name = "name.disguise.custom",
        BrickColor = BrickColor.Red(), -- Optional
        Outfits = {
            { 12069799, 12069812 }, -- Shirt and Pants
        },
    }
}
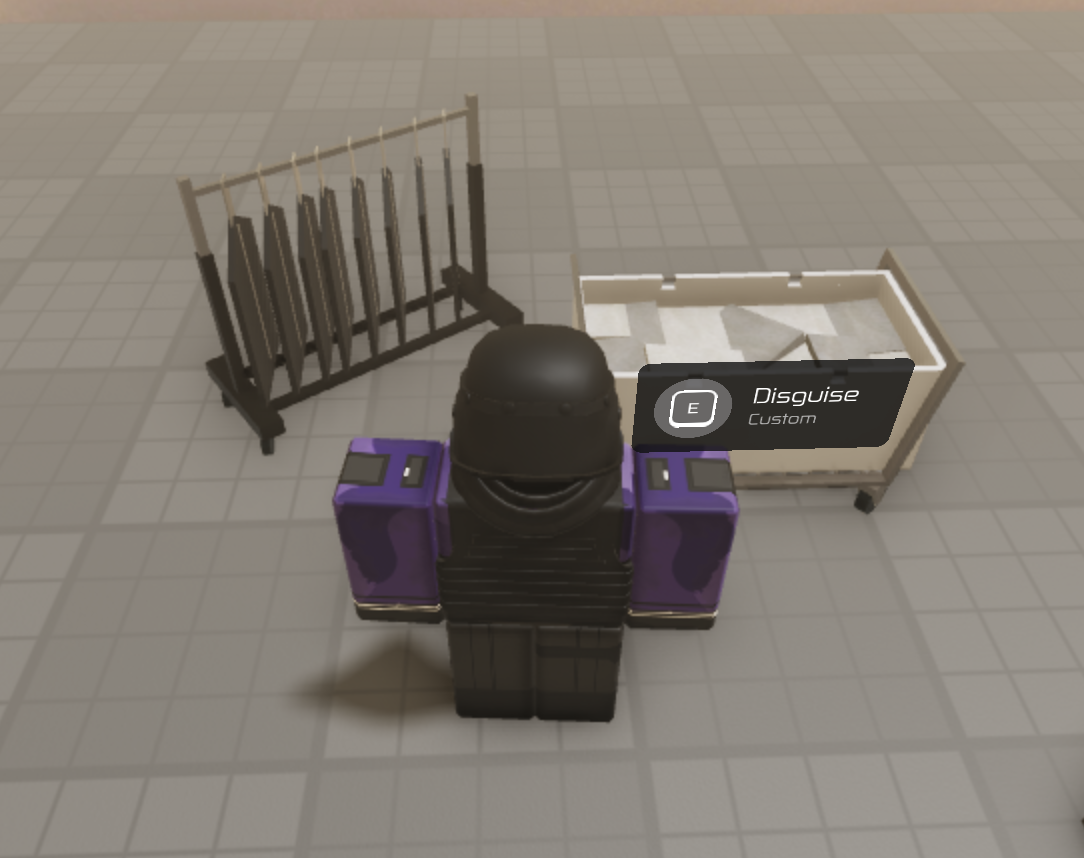
Using a custom disguise prompt
For a custom disguise prompt, you can just create a part inside Level/Props (fig. 1.) and name it DisguiseTrigger and make sure to have an attribute of type string named Disguise that refers to the disguise name. In this case, we named it CustomDisguise.
Note
The part's local positive X-axis determines the direction the prompt will use. Make sure the positive X-axis points exactly where you want the prompt to face.
In the Outfits field is for the shirt and pants ID. The BrickColor field is for the character's limbs color when the disguise is applied to them.
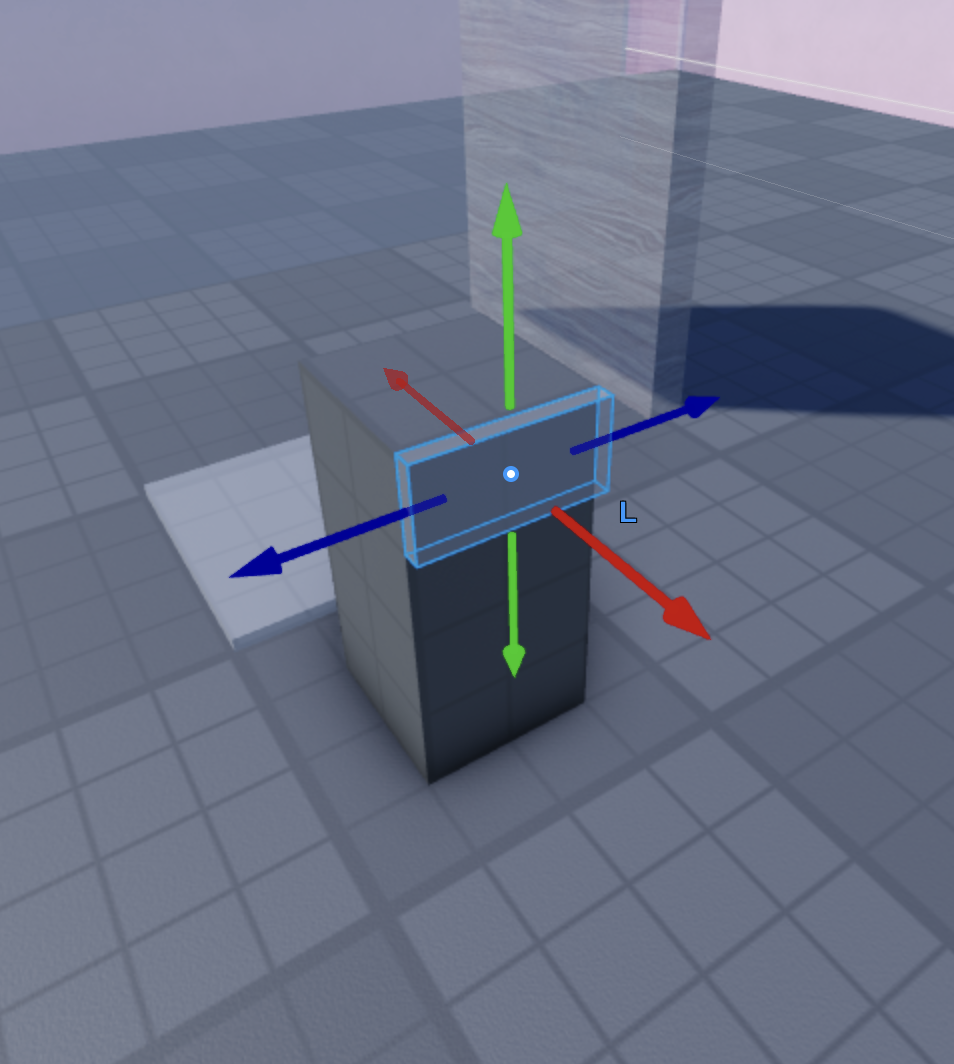
Note
To know if your BasePart is facing in the correct direction, select the Move tool in the Model tab, press on your disguise prompt part, and see if the X-axis is pointing in the right direction. Make sure that you are on local mode, which can be seen by the L text while you are selecting it. If you're not in local mode, press Ctrl+L if you are on Windows or Cmd+L if you are on Mac.
Using specific disguise props
Only some props are able to give disguises. Namely ClothingRack and LaundryBasket, and they follow the same conventions, the placeholder part local positive X-axis must be in the correct direction, and have a Disguise attribute to the placeholder.